Top 10 ADV Motorcycle Mechanical Skills You Should Know

Hope for the best, prepare for the worst.
This saying applies to many aspects of life, but it especially rings true for adventure motorcycle riders. The very thought of taking off into the great unknown, with obstacles and pathways of various conditions is both exciting and daunting at the same time.
One of the biggest sources of fear and anxiety, of course, stems from a crash, malfunction, or another kind of mechanical trouble with your motorcycle.
Knowing how to work on your own bike, especially if you’re in the middle of a ride, is vitally important for the survival of both you and your motorcycle.
Fortunately, enough people have had to learn the hard way so that you don’t have to. In this guide, we’ll cover 10 basic mechanical skills you should know how to do on your next adventure ride.
1. Read the Owner’s (or Service) Manual
We recommend this one before you actually go on your ride. It seems obvious, but it’s so obvious that a lot of people overlook it. Nearly every motorcycle has a factory service manual. Find the appropriate one for yours and give it a thorough read.
If nothing else, it will tell you where important components are located, how to service them, proper torque amounts, and other specifications that will be important when taking things apart – and especially when putting them back together.
These manuals are generally written by the same folks who built the bike in the first place, so their words are as good as gold.
2. Fixing a Flat
Probably the most common issue you’ll face out in the wild is a flat tire. First off, know whether your motorcycle uses tube or tubeless tires. Either way, hopefully your bike has a center stand.
This will make the wheel removal process much easier. If not, you’ll have to get comfortable propping your bike against something or finding a way to get whichever wheel up in the air.
If you’re using tubes, the first step is breaking the bead. If you’re not carrying tire irons with you (and you really should), one trick is to use your side stand as a de facto bead breaker.
Place the side stand over the sidewall of the tire and slowly lean the bike into the tire, forcing the side stand into the tire. You’ll know you’ve broken the bead when you hear a pop and suddenly feel much less resistance.
Check the tube for any debris that may cause punctures or leaks. Then carefully inspect the tire for the same. If you find something, use pliers to remove them. We recommend using gloves since if there’s something sharp enough to puncture a tire, it’ll definitely puncture your skin.
With any/all offending debris removed, place a new tube inside your tire. Be extremely careful not to puncture, pinch, or bite the tube with your tire irons during this process and when putting the tire back on the rim.
Then inflate the tube (you do have a pump, or even a CO2 cartridge, right?). If you don’t have anything strong enough to pump enough air to re-seat the bead, put as much as you can and carefully make your way to a station that can.
For tubeless tires, having a flat repair kit is worth its weight in gold. You don’t even need to break the bead. Remove whatever caused the puncture, clean the area with the included hardware in your repair kit, insert the plug, cut off the excess, and re-air the tire.
Check for any leaks using soapy water. If you don’t have soapy water, spit around the area and look for bubbles.
3. Dead Battery
There are fewer feelings in the world than pushing the starter button and having nothing happen. All because you left the key on overnight and drained the battery.
If you’re out in the middle of nowhere on an ADV ride this can be especially bad. If you have a kickstarter, try kicking it to life. You might get lucky. If not, hopefully you have something resembling a hill to roll down. If so, try bump starting the bike.
If that still doesn’t work, then we recommend bringing a portable battery pack with you. These small devices pack a punch and can be the lifesaver that jump-starts your bike back to life.
Otherwise, hopefully, you have jumper cables with you. Ones for cars will work, but bike-specific cables are smaller, easier to pack, and are better suited for clamping onto small motorcycle batteries. We won’t get into how to jump-start a motorcycle here. Youtube is your friend for that one.
4. Electrical Malfunction
The next worst thing after a dead battery is an electrical malfunction. If this happens, first check your battery terminals to make sure they are tightly secured and in good shape (no fraying of the cables, for example). If they’re tight, then check the fuses.
Typically the fuse box is somewhere near the battery. Check the fuses one by one to see if any are broken – you should see a continuous metal bridge inside the fuse. If you don’t (as in there’s no continuous metal bridge for whatever reason), that’s very likely your culprit. Replace it with another identical fuse.
5. Damaged Bodywork
A chip in your bodywork isn’t the end of the world, but you don’t want an entire body panel flapping in the wind as you’re going down the road. It’s annoying at best but can potentially damage other mechanical parts of the motorcycle at worst.
This is why you should carry duct tape (or another strong tape) and/or zip ties. Punch in a hole in the offending bodywork big enough to fit your zip tie through.
Then secure the zip tie to a solid part of the bike, or another piece of bodywork that’s not broken. Use the tape to essentially “lock” everything in place.
6. No Gas
Running out of gas could be disastrous. Luckily it can also be an easy fix. Obviously, if you have a spare gas can (or even a water bottle filled with gas), now is the time to pour it in.
Since packing spare gas can be cumbersome, it’s good to have an extra fuel hose or a dedicated siphon with you. If your buddies have bikes with carburetors (you do ride off-road with friends, right?), you might be able to reach the petcock with your extra fuel hose.
Drain some gas into a bottle and pour it into your gas tank. Don’t leave your buddy’s tank empty, obviously – just pour enough to get you to a gas station.
For fuel-injected motorcycles you’ll have to siphon the gas somehow. The old school method of siphoning gas would be to suck gas through the hose, into a vessel (make sure the vessel is lower than the gas tank).
The danger here, in case it wasn’t obvious, is getting gas in your mouth. Dedicated siphoning devices do all the sucking for you through a one-way valve. All you have to do is jiggle the siphon up and down a few times to start the flow.
7. Broken Levers/Pegs
Not having one of the four main touch points on your motorcycle is clearly very bad. The first thing to do would be to carry spare levers. If that’s not an option, hopefully, the clutch or brake lever is still long enough for you to tape or zip tie a wrench or other long piece of metal to. Then you’ll have to ride carefully as you attempt to use your “new” levers.
If the stubs are too short, you don’t need to use the clutch to change gears. Hopefully, you can find neutral before coming to a stop, otherwise, you’ll need to bump start each time you do. For the brakes, ride carefully and use the rear brake as much as possible.
If your shifter or rear brake lever is broken, you might be able to clamp down some vice grips to the shifter or brake pedal still remaining. You’re walking on thin ice, though, so proceed with extreme caution.
8. Broken Cases/Punctured Oil Pan
This one is serious and can put an end to your ride, and potentially your bike, really quick. First and foremost, bring JB Weld or another strong epoxy. If the crack or break in your case is small, apply the JB Weld directly and let it settle for a few hours.
For bigger punctures or holes, you might be able to get by with grabbing a coin (or any heavy-duty material) and using epoxy to "patch" the hole with it. No, your odds of this working aren’t great, but desperate times call for desperate measures. Don’t forget to bring some oil so you can refill whatever you lost from the puncture.
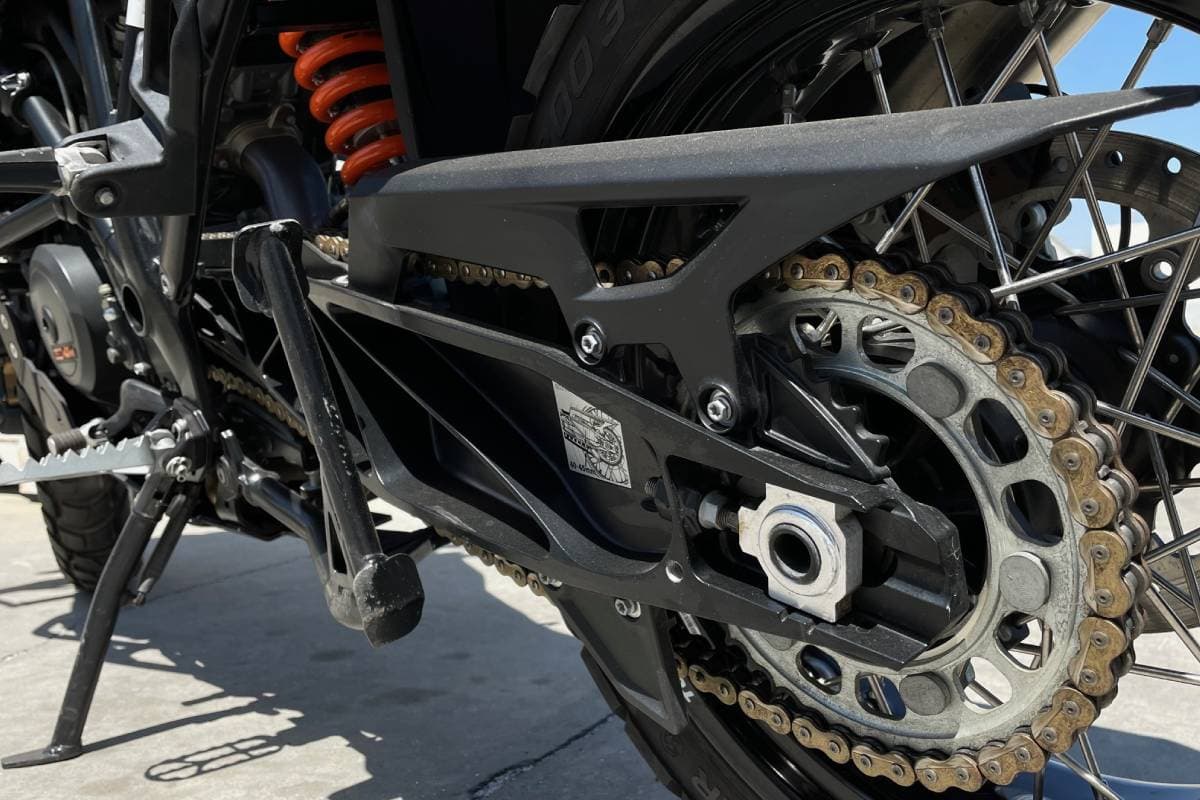
9. Broken Chain
A broken chain can be devastating, but it doesn’t have to be. Know whether you have a riveted master link or a clip-type. Whichever it is, carry an extra master link in your spares kit, along with about five extra links, a chain breaker, and a riveting tool.
Grab your chain, find the broken link and remove it if it hasn’t gone already, then use your spare links to build your chain back. Rivet or clip your spare master link in place and continue on your way.
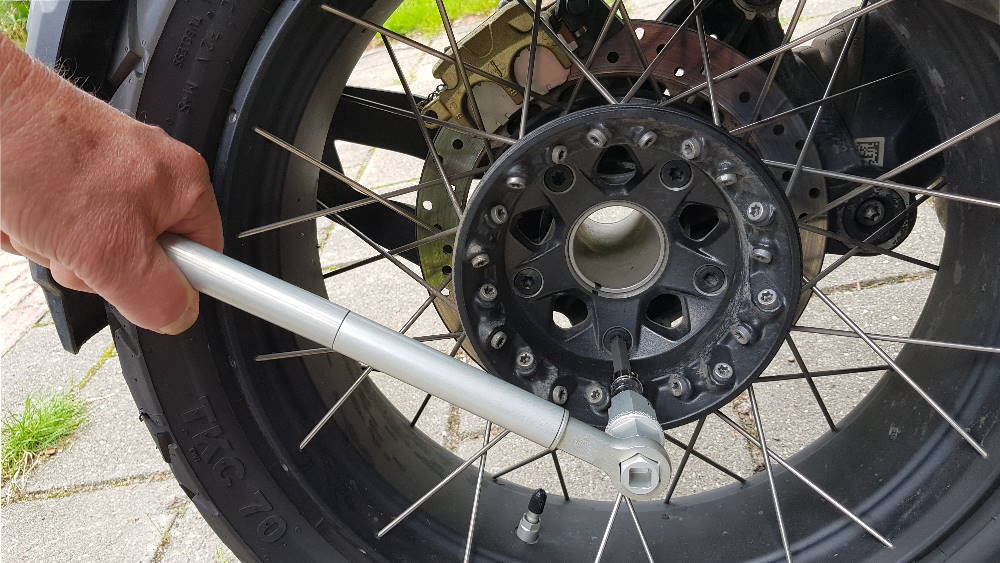
10. Broken spokes
A broken spoke is actually a fairly simple fix that, left alone, can be very bad. First, you want to secure the spoke and prevent it from spinning around, potentially damaging another (good) spoke.
You can use tape or zip ties for this. Check and tighten any other loose spokes on the wheel and proceed with caution back to civilization.
Getting stranded on an adventure ride makes for a great story you can tell later on to your grandkids. But it’s only a good story if you’re able to fix your bike and get out.
Fortunately, there’s a very high chance you won’t experience a failure that nobody else has. The 10 mechanical skills above will help you get out of nearly all of the most popular problem situations adventure riders find themselves in. Happy riding!